Last Week…
Last week in Step 1: Sportify the Stock, we replaced the standard stock on our Ruger 10/22 with a custom Revolution Extreme one, graciously donated by Brownells. This week, we’re going to replace the barrel with a sporty competition model from Tactical Solutions – also graciously donated by Brownells.
Remember, at the end of this series, we’re going to end up with one heck of a rifle. And we’re going to auction it on GunBroker.com so 100% of the proceeds will be donated to Project Valour-IT of Soldiers Angels.
Step 2 Objectives
- Take a perfectly good barrel off a perfectly good Ruger 10/22 carbine. Because we can.
- Do NOT butch up the receiver. “Butching up” is a techincal gunsmithing term that loosely translates to “gouging metal.”
- Do NOT butch up the shiny new Tactical Solutions barrel.
- Try to avoid the use of large sledgehammers and/or blowtorches. This might cause the Brownells GunTech Team to resign en-masse and we wouldn’t want that to happen. Who would we call for advice about Step 3?
- Make sure that the rifle still feeds and shoots. In a forward direction. Preferably .22LR ammunition.
The Custom Ruger 10/22 Project Parts
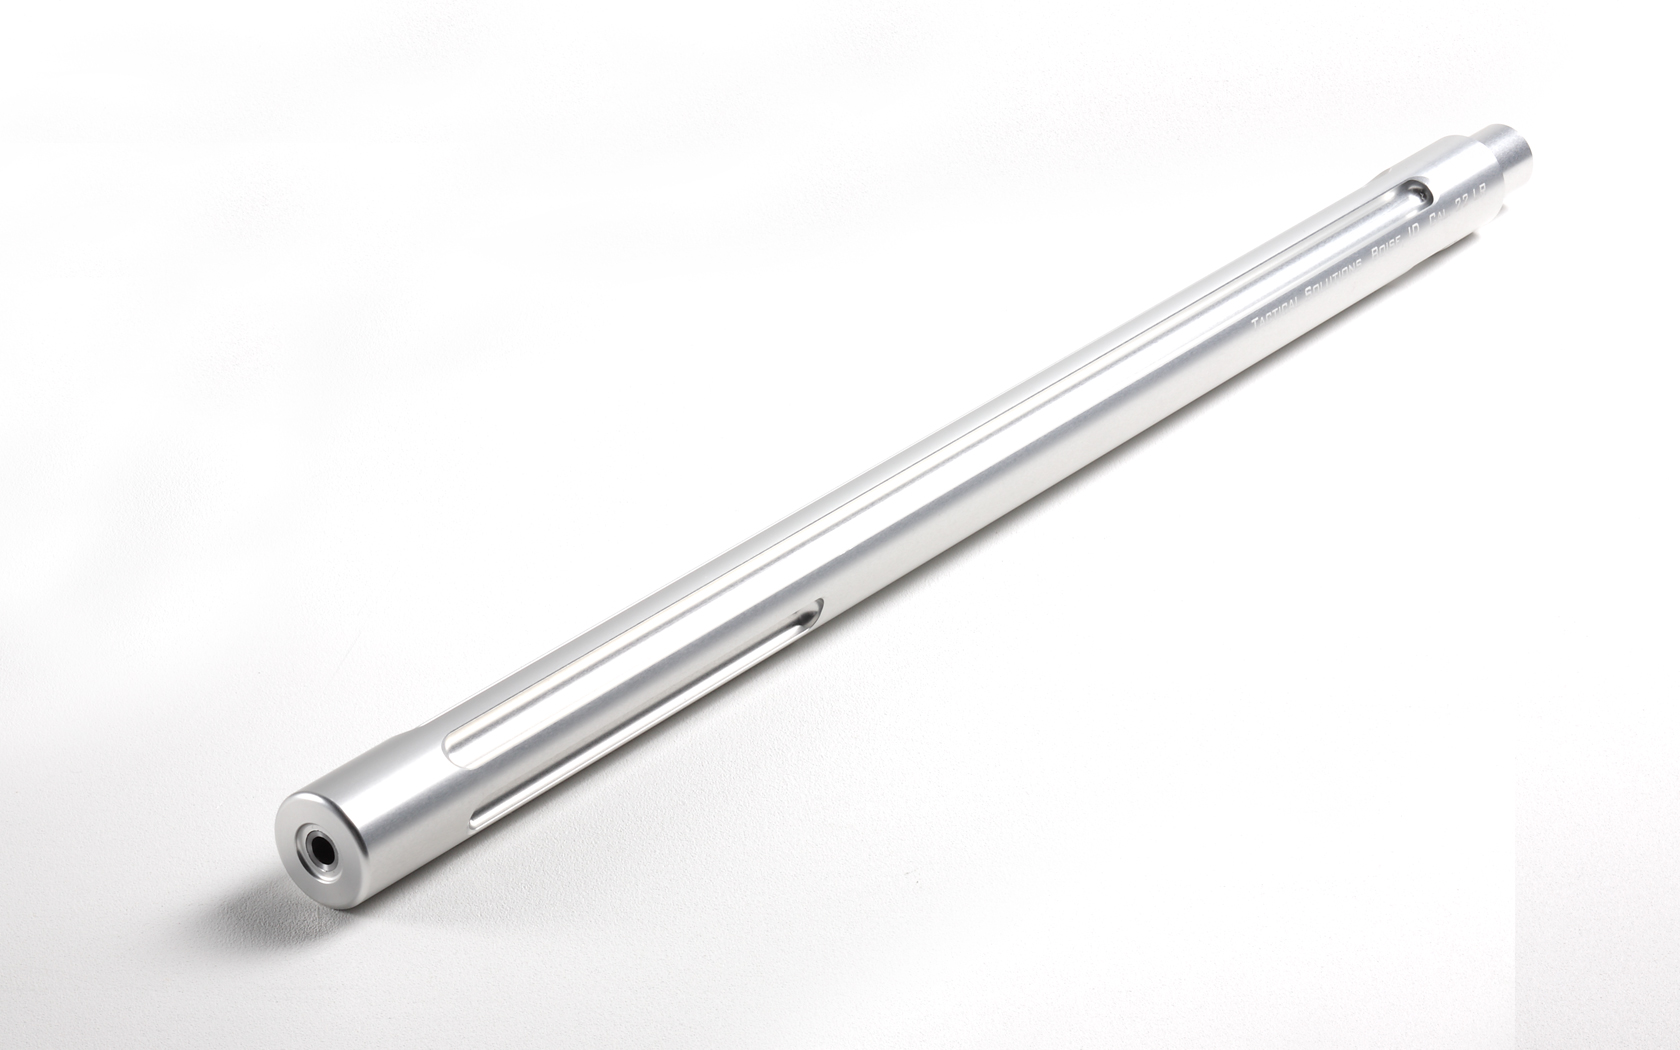
Tactical Solutions X-Ring Barrel
The Tactical Solutions X-Ring Barrel upgrade adds the “bull” part of this step
- .920” diameter, 6061-T6 billet aluminum construction
- Threaded end with included matching thread protector
- Oversized shank (more about this below)
- 1 in 16” twist 4140 button rifled steel liner with 11° target crown
- This one is silver. And quite sporty looking.
Tactical Solutions Compensator
Given the massive power and recoil of the .22LR rifle, we opted to include a thread-attached Tactical Solutions Compensator. Ok, to come clean, we didn’t really add this to help reduce recoil, because it’s pretty much non-existent anyway. It just looks cool, OK? Isn’t that a good enough reason?
- 360° gas ports allow for even distribution of gasses for optimum accuracy
- Machined from solid billet of 6061-T6 aluminum
- No indexing or gunsmithing required to fit on Tactical Solutions ½ x 28 TPI Threaded end barrels
- 0.920” Outside diameter so it fits exactly flush with the X-Ring barrel
How To Install The Tactical Solutions Bull Barrel
Admittedly, we were more than a little nervous going into this step as our previous gunsmithing experience has been limited to advanced techniques like ordering extra magazines from Brownells.com and replacing the factory grips on a Beretta 92-FS with Hogue Rubber Grips . That one was kind of hairy – we had to remove at least 4 different screws. And put them back.
However, Larry Weeks from Brownells talked us off the ledge and convinced us we could do this without professional assistance. While psychiatric services might be required, there would be no need for professional gunsmithing.
The Tactical Solutions X-Ring Barrel includes a very easy-to-follow set of instructions. And, as it turns out, swapping a barrel on a Ruger 10/22 couldn’t be easier. Apparently this rifle was designed with interchangeability in mind. As for the compensator, we were able to do without detailed instructions – you just screw it on.
Here goes…
| The Tactical Solutions X-Ring barrel comes with a great set of easy to follow instructions. Between this article and the included directions, you’ll be fine! | |
| First, remove the stock by loosening the screw just in front of the magazine well. Lift the barrel from the front to remove the receiver assembly. Seems like deja-vu no? | |
| Just under the barrel, you’ll see two allen screws holding a barrel retainer v-block. Now would be a great time to find an allen wrench that fits these. | |
| We found that the magazine release lever and it’s corresponding pin like to fall out fairly easily when not contained by the insides of the stock. No biggie, just be aware of this so you don’t lose the pieces. If your magazine is out during these steps, you might also want to keep an eye on the magazine latch plunger. | |
| Loosen the allen screws and remove them completely. The barrel retainer v-block will come right off. | |
| The Ruger 10/22 barrel will pull right out with hand pressure. If you have an older rifle, or things are crudded up, be gentle – this is probably not a great place to use impact tools or recreational explosives. | |
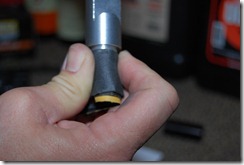
| Since the Tactical Solutions X-Ring barrel on this particular rifle is threaded, we went ahead and put the thread protector on so we wouldn’t butch up the threads during the next few steps. | |
| Using your hands only (no large metal hammers or other tools substituting as hammers! This includes screwdrivers, pliers, and heavy flashlights) insert the new barrel into the receiver.Oh, it probably won’t fit. That’s OK – it’s slightly oversized by design. Tactical Solutions makes the shank just a hair on the large side so you can custom fit this barrel to a variety of Ruger or aftermarket receivers and create a perfect fit for your particular gun. | |
| Here’s a great time to be really, really patient. If you have to, pretend that you’re in an old 007 movie tinkering with an atomic bomb fuse – except that the clock is not ticking down while the co-star looks concerned. This is an easy step that will have major impact on the accuracy of the rifle. Using some emery cloth, gently sand down the barrel shank. Wipe off the crud, and try the fit. The barrel should eventually fit in the receiver very tightly, but with hand pressure only. Take your time and repeat the sanding, wiping, and test fitting as necessary. Remember, this part is made of aluminum, so it will sand down fairly easily.To the future buyer of this rifle: We were very patient with this step. The fit is rock solid. | |
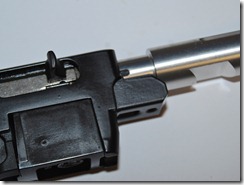
| If you look closely at this photo, you’ll see that hand pressure has gotten the barrel to fit in the receiver except for the last 1/16th of an inch or so. Leave the hammers in the drawer! | |
| Place the barrel retainer v-block back in position and tighten the allen screws alternately. This will snug the barrel right up to the receiver. | |
| Look at that fit. Perfect! | |
| This would be a swell time to screw on the new Tactical Solutions Compensator! | |
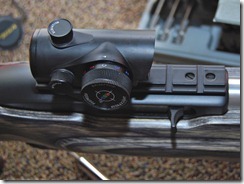
| Now it’s time to put the new barreled receiver back in the stock. See Step 1 if you need a refresher on that.This would be a great time to add the rail that Ruger includes with the 10/22. Simply remove the four screws in the top of the receiver, and fasten the rail using the included screws. Remember to use proper gunsmith screwdrivers here so these very visible screws stay nice and tidy. You can get a set at Brownells. | |
| Since Step 2 resulted in the loss of our factory iron sights (The Tactical Solutions X-Ring Barrel does not have them) we popped a nearby Red / Blue / Green Dot sight from BSA on the newly mounted rail just to test things out. During a future step, we’ll decide what optic should live on this rifle permanently. Let us know if you have ideas! |
Voila!
Purely as a quality control measure, we took the completed rifle with it’s shiny new barrel to the range to make sure it still worked. After all, one of our Step 2 objectives was to make sure that the rifle still was able to fire .22LR ammunition in a mostly forward direction. We tried a small variety of ammo types and experienced not a single problem with ejection or feeding. Considering we just put a whole new barrel on the Ruger 10/22, that was some very good news.

The custom Ruger 10/22 worked just fine with a variety of ammunition
Yes, this rifle is already more fun to shoot than should be legal. Golf balls will be at your mercy at most any reasonable distance.
Next Steps For The Custom Ruger 10/22 Project…
Join us next week when things get really hairy. Hairy and triggery. We’re taking apart the receiver to install a new trigger group. Be on the lookout for explosions originating from an undisclosed location somewhere in South Carolina.
Stay tuned!










Cool! I might be getting an older 10 22 in the future with the aim of fixing it up. Glad to know it’s doable.
Absolutely! We’ll discuss some of this next episode, but there are some parts decisions to consider depending on the serial number of your rifle. We’re doing the trigger group next week and older rifles use different parts than newer ones. The Brownells GunTeach team are versed in this and can help you get the right parts when you’re ready.
What grit of emory cloth did you use on the shank?